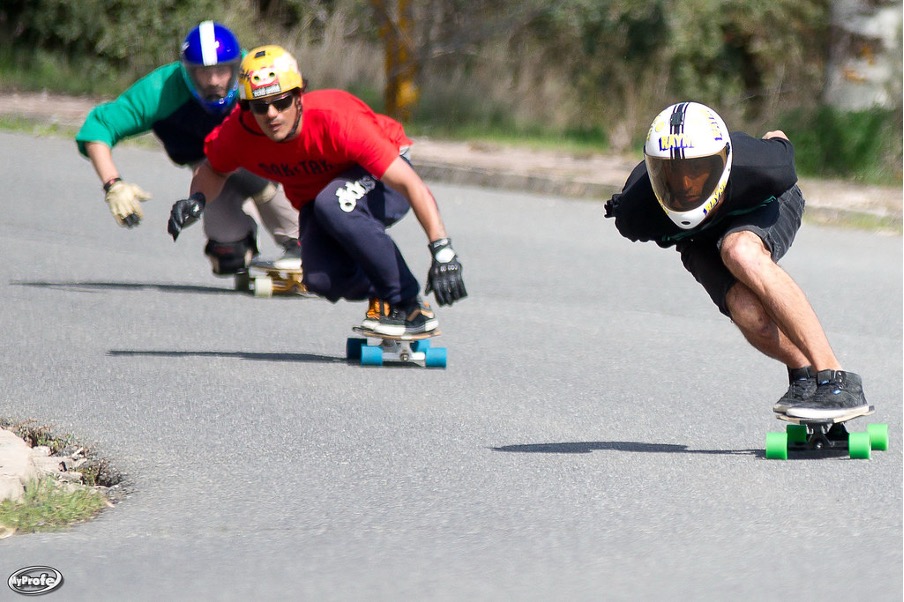
One of the most challenging moments is when you can’t stop because you’ve gone too fast and don’t have a way out. It nearly always ends in a painful attempt to plunge off into the grass and recovery rolls.
So, you should learn how to stop on a longboard to prevent any occurrences of colliding or getting injured when riding at any specific pace.
You have the following options for stopping your longboard:
- Hop-off your longboard
- Roll onto a rough surface
- Foot braking
- Carving to slow down the board
- Toeside pendulum slide
- Heelside pendulum slide
- Coleman slide
Stopping might be difficult at first, but you’ll be able to conquer slopes and attain maximum speeds with enough practice. So, let’s get going!
How To Stop On A Longboard?
There are various strategies for learning how to stop on a longboard, and mastering any of them will require considerable effort. It will help if you follow the tutorials below:
Hop Off Your Longboard
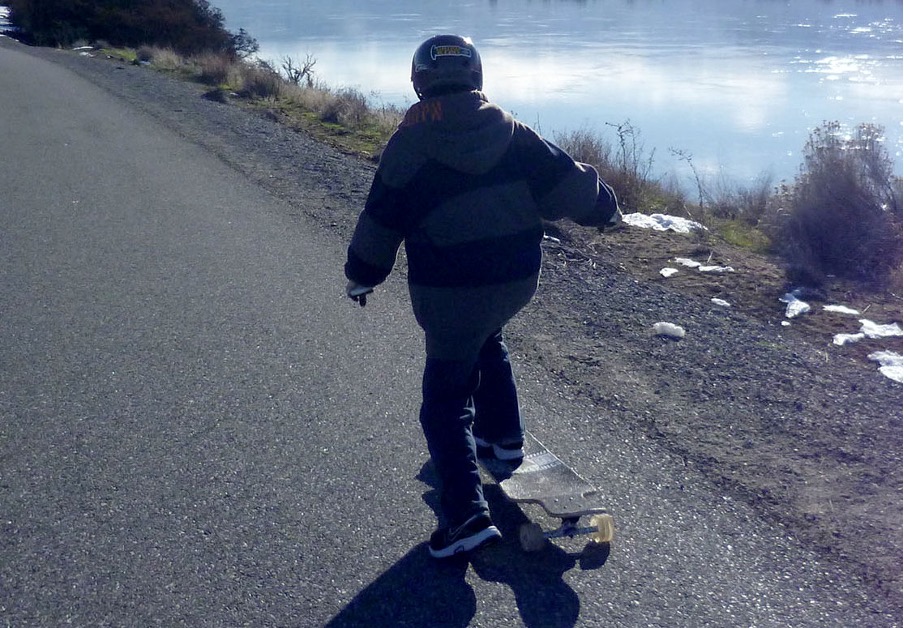
If you’re going at a modest pace on a flat surface, such as 10-15 mph, hopping off the longboard is the most straightforward and apparent method to stop on your longboard.
You need to stop pushing and ride it out, allowing the friction between the ground and your shoes to slow you down. All you need is an adequate room ahead of you.
You can also step off and catch your board if you’re riding at an approximately walking pace. Kick down on the tail of your board to tip it up, grab it with your hand, and walk away looking great.
However, if you’re traveling faster than 20 mph, this isn’t a good idea. This method is exceptionally unsafe since your board may roll away from you when you get off, perhaps hitting someone or drifting into the road, scaring motorists.
Roll Onto Rough Surface
Riding your longboard across uneven terrain can slow you down or completely stop you. You can travel quite rapidly with enough grass surface if you’re rolling on short grass.
Also, going too rapidly into thick grass will undoubtedly cause you to fall off since your board will come to a halt. Apply common sense and begin slowly.
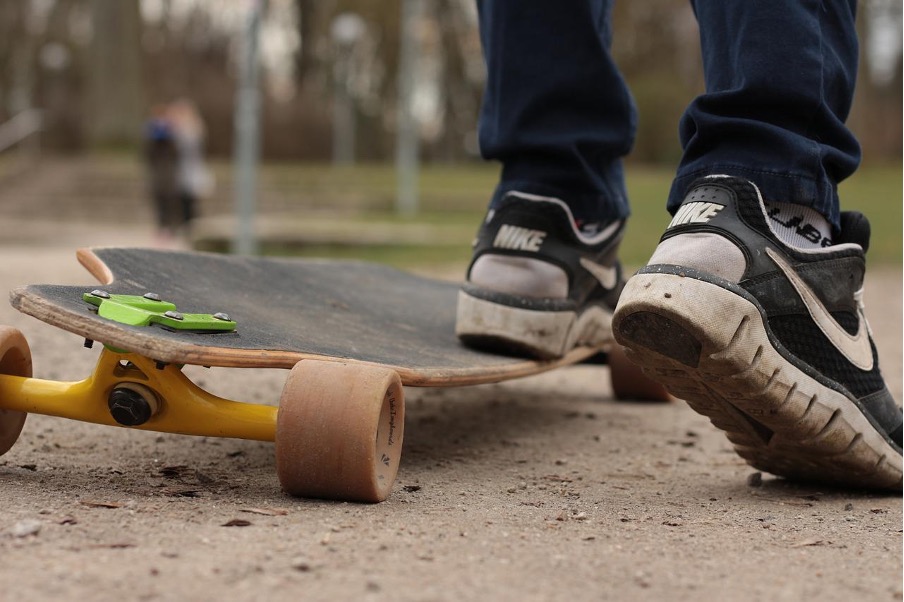
Foot Braking
Foot braking excels in reducing your speed to a complete halt. Use this approach just for recreational riding on flat terrain at moderate rates.
When utilizing foot braking, make sure you’re wearing appropriate footwear.
- To stop using foot braking, slide your shoe along the ground.
- Shift 60 to 70 percent of your weight to your front foot to begin using foot braking.
- It makes no difference whether you put your left or right foot forward. Use the foot that is ordinarily in front of you.
- Start dragging your rear foot over the floor.
- Leaning on your rear foot will cause you to step off the board.
- Drag the foot over the ground with some weight.
- Slowly apply pressure to the ground as you drag your foot and begin transferring your weight from the front to the rear. Keep in mind that the more pressure you exert, the sooner you’ll stop.
Consider elements such as speed, distance, and the angle you’re moving before deciding. Pay attention to the sort of surface you’re skating on.
The kind of terrain you’re going on, whether asphalt or concrete, affects friction.
Asphalt, for example, has stronger resistance to skidding than concrete, but concrete roads are more durable.
If you’re traveling even a little fast, such as on a tiny hill, foot braking isn’t simple. With a bit of practice, you should be able to perform it at a comfortable speed of approximately 20 mph.
Carving To Slow Down The Board
You need to transfer your body weight and lean firmly into one edge of your longboard. Begin with your upper body and push down with your heels or toes.
Shift your weight to your heels after carving out and setting up your powerslide.
It means you’ll be leaning backward rather than forwards, enabling your body weight to control the board’s movement.
Furthermore, place 60–70% of your weight on your front foot. It will assist you in completely turning and sliding.
Swivel your hips and shoulders in the slide direction once you’ve moved your weight correctly. Use your front foot as a pivot if you’ve leaned back on your heels and toward the front of your board.
Before doing this step, be cautious of anything on the ground. Even the slightest bit of gravel, stone, wood, or glass may ruin your slide and cause some severe road rash.
Based on your current speed, choose the rate at which you wish to turn. Slowly ease into the turn to achieve a complete halt.
Kick out with your rear foot towards your slide’s direction as you rotate with your front foot. It will finish the slide by turning you 180 degrees.
It’s critical to remember to keep your back straight during the slide. If you lean forward, you run the danger of bringing your board to a complete halt.
Toeside Pendulum Slide
A toeside pendulum slide includes sliding a gloved hand down the ground. It entails lowering yourself to the ground.
Carve out to the side, stoop down; rest your whole weight on your front foot.
Kick out and slide with your rear foot to slow down. Retract your gloved hand while bringing your foot back to continue rolling on your board.
If you position your gloved hand too far away from your body or too near to your body, you risk not being able to do the pendulum or sliding off your board altogether.
Don’t worry if you don’t get it right away. It takes a lot of practice to master this technique. Continue practicing until you can do the method with ease.
Heelside Pendulum Slide
Although there isn’t much danger in any direction, heelside standups are considerably more accessible.
To execute a heelside standup slide, start by dangling your heels over the edge of your heelside. Your front wheel is on the rail, while the whole heel of your back foot hangs off.
To begin, place your feet squarely on the board. Make a lane on one side of the road. Crouch down with a gloved hand and start running your hand down the ground.
While leaning back on your heels, kick your feet out in a powerslide motion. The weight should be spread equally from front to back.
Continue on your journey after rotating 180 degrees. To keep your balance, use your free hand to hold your board.
However, do not grip the board between your legs. Grab the board near your rear foot to prevent interference with the motion.
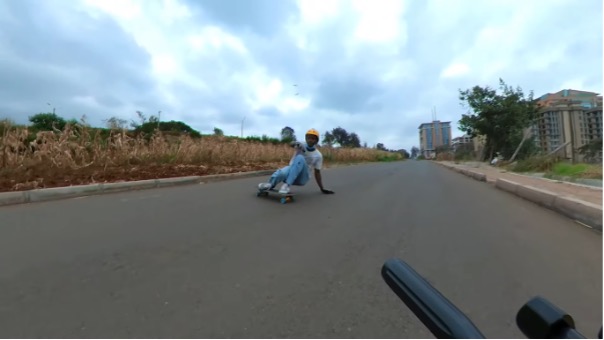
Coleman Slide
Coleman slides are an excellent place for beginners. Speed control, turning, and coming to a complete stop are all possible with them.
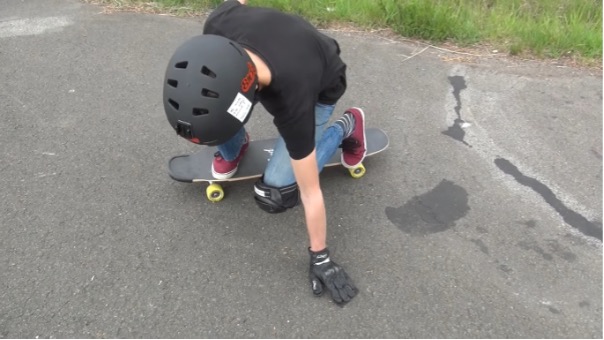
- Squat down on your board. Put your heels on the edge if you’re riding a tiny deck.
- By angling your back knee towards the front leg, you may place your weight over it.
- Down your front hand to your heelside, rotate your shoulders in the slide’s direction.
- You’ll lose more speed the slower you turn. Remember to keep an eye out for the direction you would like to go.
- Practice riding low and then carving turns in that position on a tiny hill. It’s normal for your rear knee to tuck in towards your front knee.
- While riding, get in the habit of switching between upright and squatted postures. Try the “box” posture once you’ve reached the hang of crouching.
You can watch this video to cover a tutorial on the Coleman slide:
FAQs
How do you stop a speed wobble on a longboard?
Get down, relax your legs, and maintain your upper body positioned slightly front and above your board.
Is turning on a longboard hard?
Turning on a longboard is a fundamental technique that you will need to learn if you plan on performing a lot of cruising or carving. You may find it tough to turn as a beginner.
Is dropping in easy?
Dropping in may seem intimidating at first, but it’s relatively simple.
Final Thoughts
Depending on your riding pace, the riding style, and longboard type, learning how to stop on a longboard may vary from simple to sophisticated approaches.
Learning to slide may be difficult and takes time, but it may be a worthwhile investment that most riders love learning.
It’s good to learn all of these tips since the road may not always move in the direction you wish to glide in. Always remember to put on your protective gear and fasten your helmets!