If you want to practice skateboarding or longboarding, you need the right board.
While it may be tempting to buy a longboard simply, it’s a great idea to construct your board. It might be difficult and costly to construct the first one.
So, we’ve compiled information on how to build a longboard to assist you in making a fantastic board. Let’s dive in!
What Is A Longboard?
A longboard is a sort of skateboard. It is usually longer and more shaped than a conventional skateboard.
A longboard is a large skateboard that spans from 38 to 60 inches (96-152 cm).
The long wheels are significantly larger, from 60mm to 80mm, and softer ensuring a smooth ride and less clinging to pavement imperfections.
The large long wheels are about 60-80 mm, and the durometer hardness is from 78 to 82. This design ensures smooth riding and less clinging to defects on the road surface.
Thanks to their more precise wheel sizes, construction materials, and hardware, longboards are popular for cruising, dancing, freestyle, slalom, street luge, and downhill racing.
How To Build A Longboard?
Here’s a step-by-step tutorial on building your longboard from the ground up.
It will walk you through the entire process, from purchasing materials and tools to painting and adding finishing touches.
Prepare Materials
The first step in any DIY project is to gather the materials and tools necessary to do the job. It’s quite simple to obtain the necessary stuff.
Choose whatever wood you want for the board. Be aware, though, that hardwood is more durable.
You can use various woods, including oak, walnut, and maple. Additionally, you’ll need wood glue, black spray paint, a spray bottle, and spray glue.
Additionally, you’ll need clips, photoshop, printer, knife, tape, pencil, paper, varnish or plastic, drill, screws and nuts, and sandpaper.
Optional tools include the jointer, band saw, planer, table saw, chisel or spokeshave, and bench vise.
Some longboard hardware, such as the truck, bearings, wheels, and clear grip tape, will also be useful.
Design
If you’re not sure what form you prefer, get inspiration from Pinterest and pick one. It’s best to sort it out before learning how to construct a large board.
When you already have ideas, take some paper and begin sketching shapes that intrigue you.
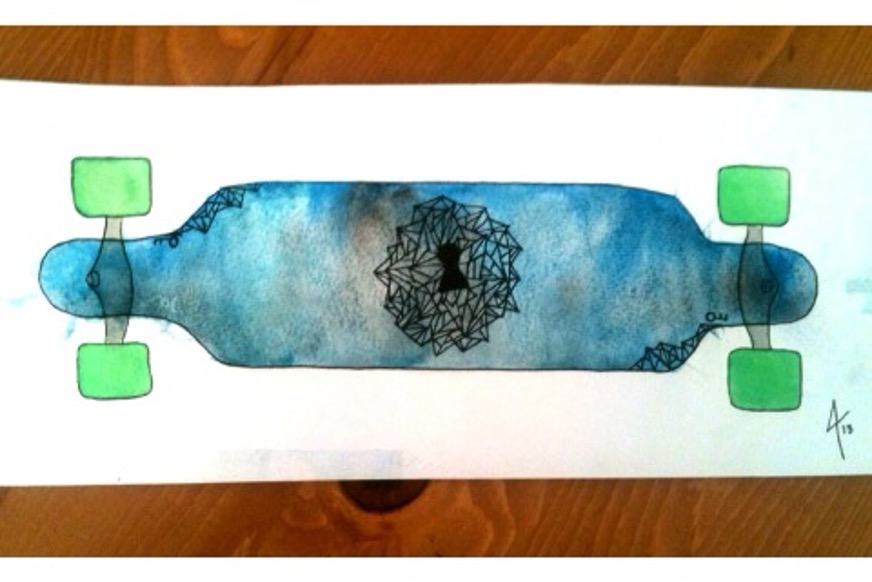
If this is your first plank, we recommend duplicating a basic shape that you like and simply making slight alterations to the overall shape.
You can then scale your profile to a large sheet of paper, either patterned paper or something with a grid, or directly onto your board after that’s done.
One tip is to reflect the mirror by folding the board along the long edge to make it symmetrical.
Finally, if you’re not good at drawing, make a layer in Photoshop or another vector software and outline it. Then, print it out and place it on the board when it’s finished.
Rough Cuts
You can adjust the longboard’s flexibility with length and thickness. The longer it is, the more adaptable it is; the shorter it is, the more difficult it is.
To begin, cut the board to the desired length, stack the layers on some of your vehicle’s blocks, and step safely on it.
The thinnest boards should be at the top and bottom of your board, with the less attractive ones.
You’ll need to stack many layers of birch plywood to provide the board with the required thickness, elasticity, and flexibility.
To accomplish so, cut the board into as many rectangles as you require, slightly larger than the board’s final width.
Use a circular saw, handsaw, jigsaw, or any other cutting tool. Always leave a little more to trim and remove later.
Glue Up
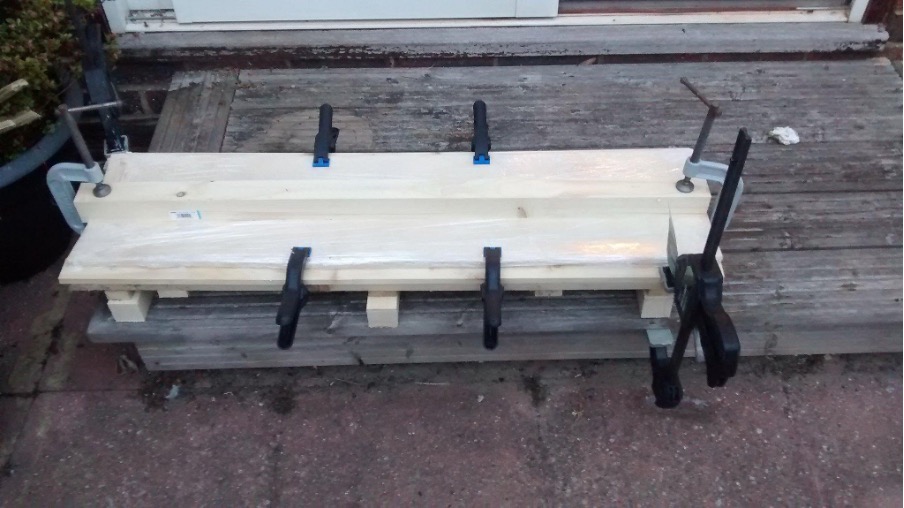
Once you’ve completed your layers, the glue and clamp will secure at the correct curvature.
Because the curved profile I added to my board is a little more involved, I’ve included a link to a page that discusses the mold and clamping procedure in greater depth.
You can also keep it flat and avoid adding any curve at all. Select your wood treatments with care. On the outside of your pad, find your favorite woodgrain plate and set it there.
Apply a thick layer of wood glue between each sheet, then attach the boards to the appropriate curve evenly and allow to cure.
Because the glue will set quickly, act fast, and have your clamps ready.
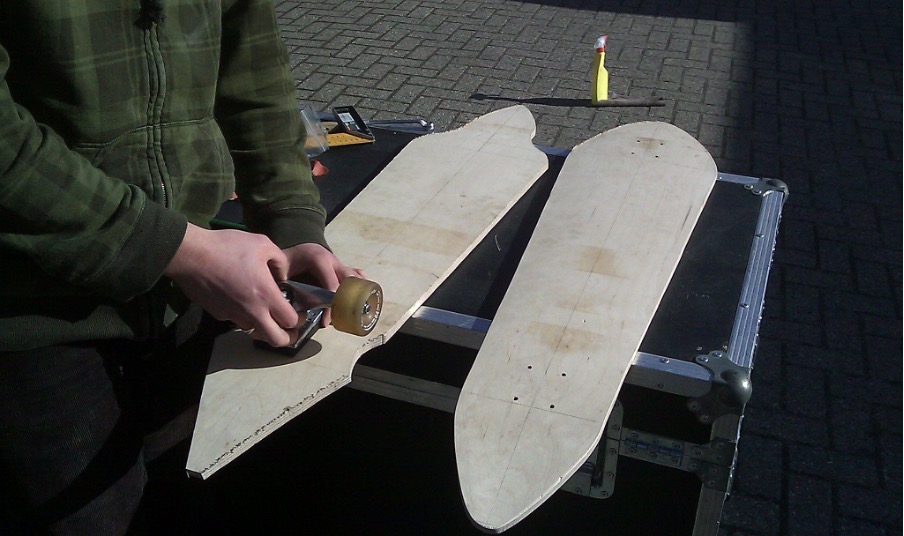
Shape Your Board
The next step is to make the longboard deck’s outside shape. To make the outside of the deck, you can use some craft spray glue.
After spraying the paper, please wait 30 seconds for it to dry before sticking it to the wood. Then, using a chainsaw or jigsaw, cut around the pattern.
Before removing the paper template, make sure you mark the location of the truck’s hole with the screw head. After you’ve finished the outside shape, drill holes for the truck and countersink the top to make room for the screw head.
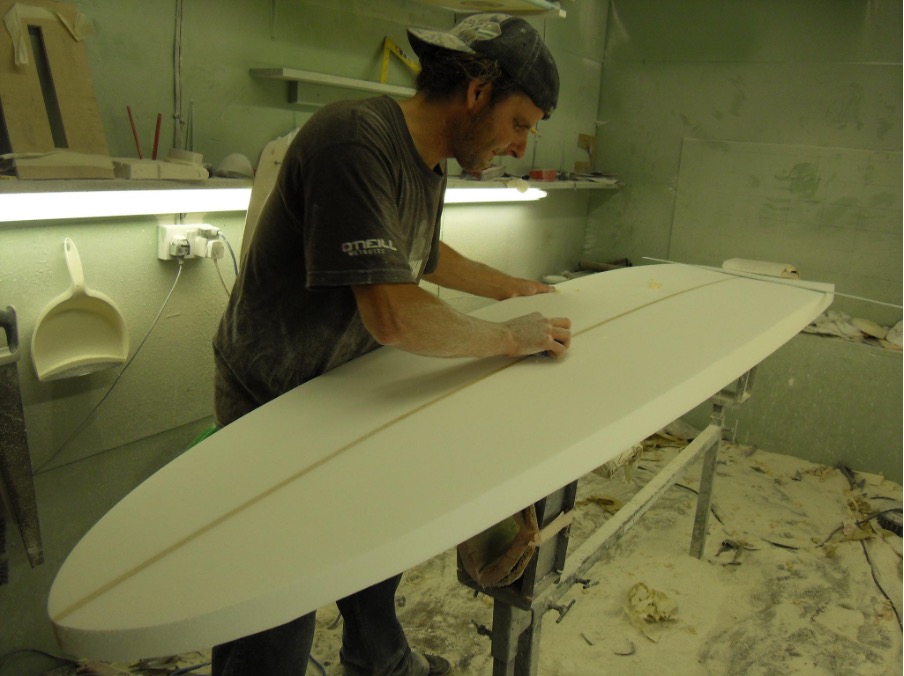
Sand to Perfection
You can now gently trim away the excess wood and carve your final shape. If you want to use belt sanders, be cautious as they can swiftly remove material.
Start with a coarse mesh, such as an 80 grid, to remove the majority of the unclean cuts, then progress to a 350 grid.
Your board should now seem like it came directly from a professional production line if you did a decent job, especially with the sanding.
Stain
Skip this step if you want wood’s natural appearance. If you want your board to look more finished, wipe it off with a clean cloth or towel to remove any sawdust or debris.
Then, apply stains, and you’ll have a darker finish.
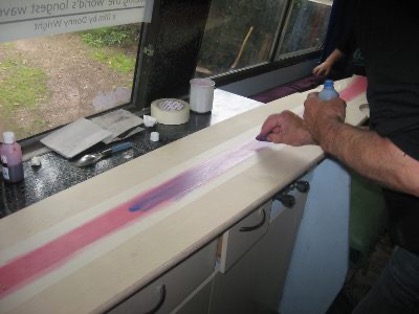
Top Coats
The majority of people choose to use their longboards for outside activities, which means they will be exposed to dirt, water, gravel, and other debris. As a result, we recommend going with a polyurethane finish.
Apply a couple of coats of paint on the board with a spray bottle. To protect all of your hard work, apply at least 3 or 4 layers of topcoat.
Use a brush or rag instead of a spray bottle if you don’t have one.
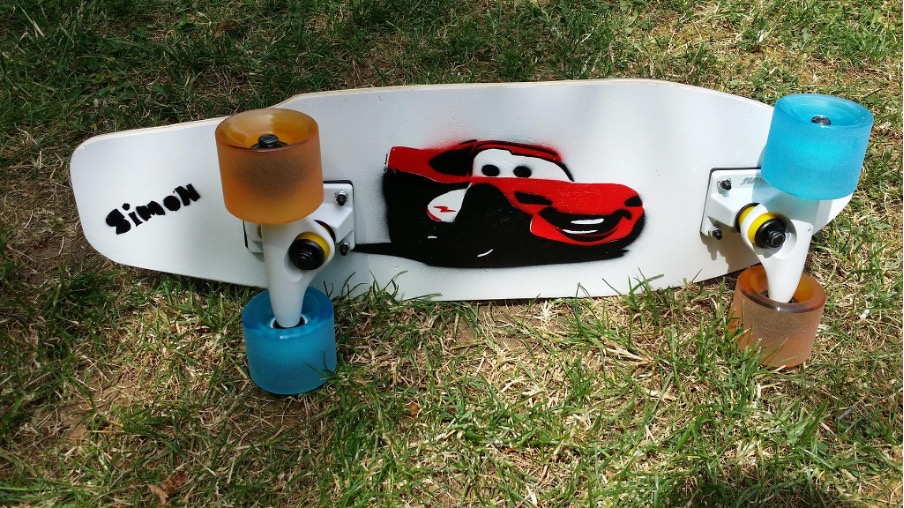
Final Assembly
After completing the preceding stages, start drilling holes for your truck. Connect the holes so that the screws are flat.
Next, place your truck in the proper place with the help of a screwdriver. Your board will not spin unless both trucks are facing out. After that, put your wheels and bearings in place.
Before going any further, make sure the wheel is in good working order. Besides, tight nuts are important to let the wheel turn more readily.
To learn about the total process of making a longboard, check out this video:
Conclusion
That’s how to build a longboard. It’s fairly simple to construct a longboard, especially if you already have some tools on hand.
There’s no way you could ever fail if you properly follow this step-by-step guide.
We hope you have a fun skating experience on the gorgeous and reliable longboard that you built yourself.